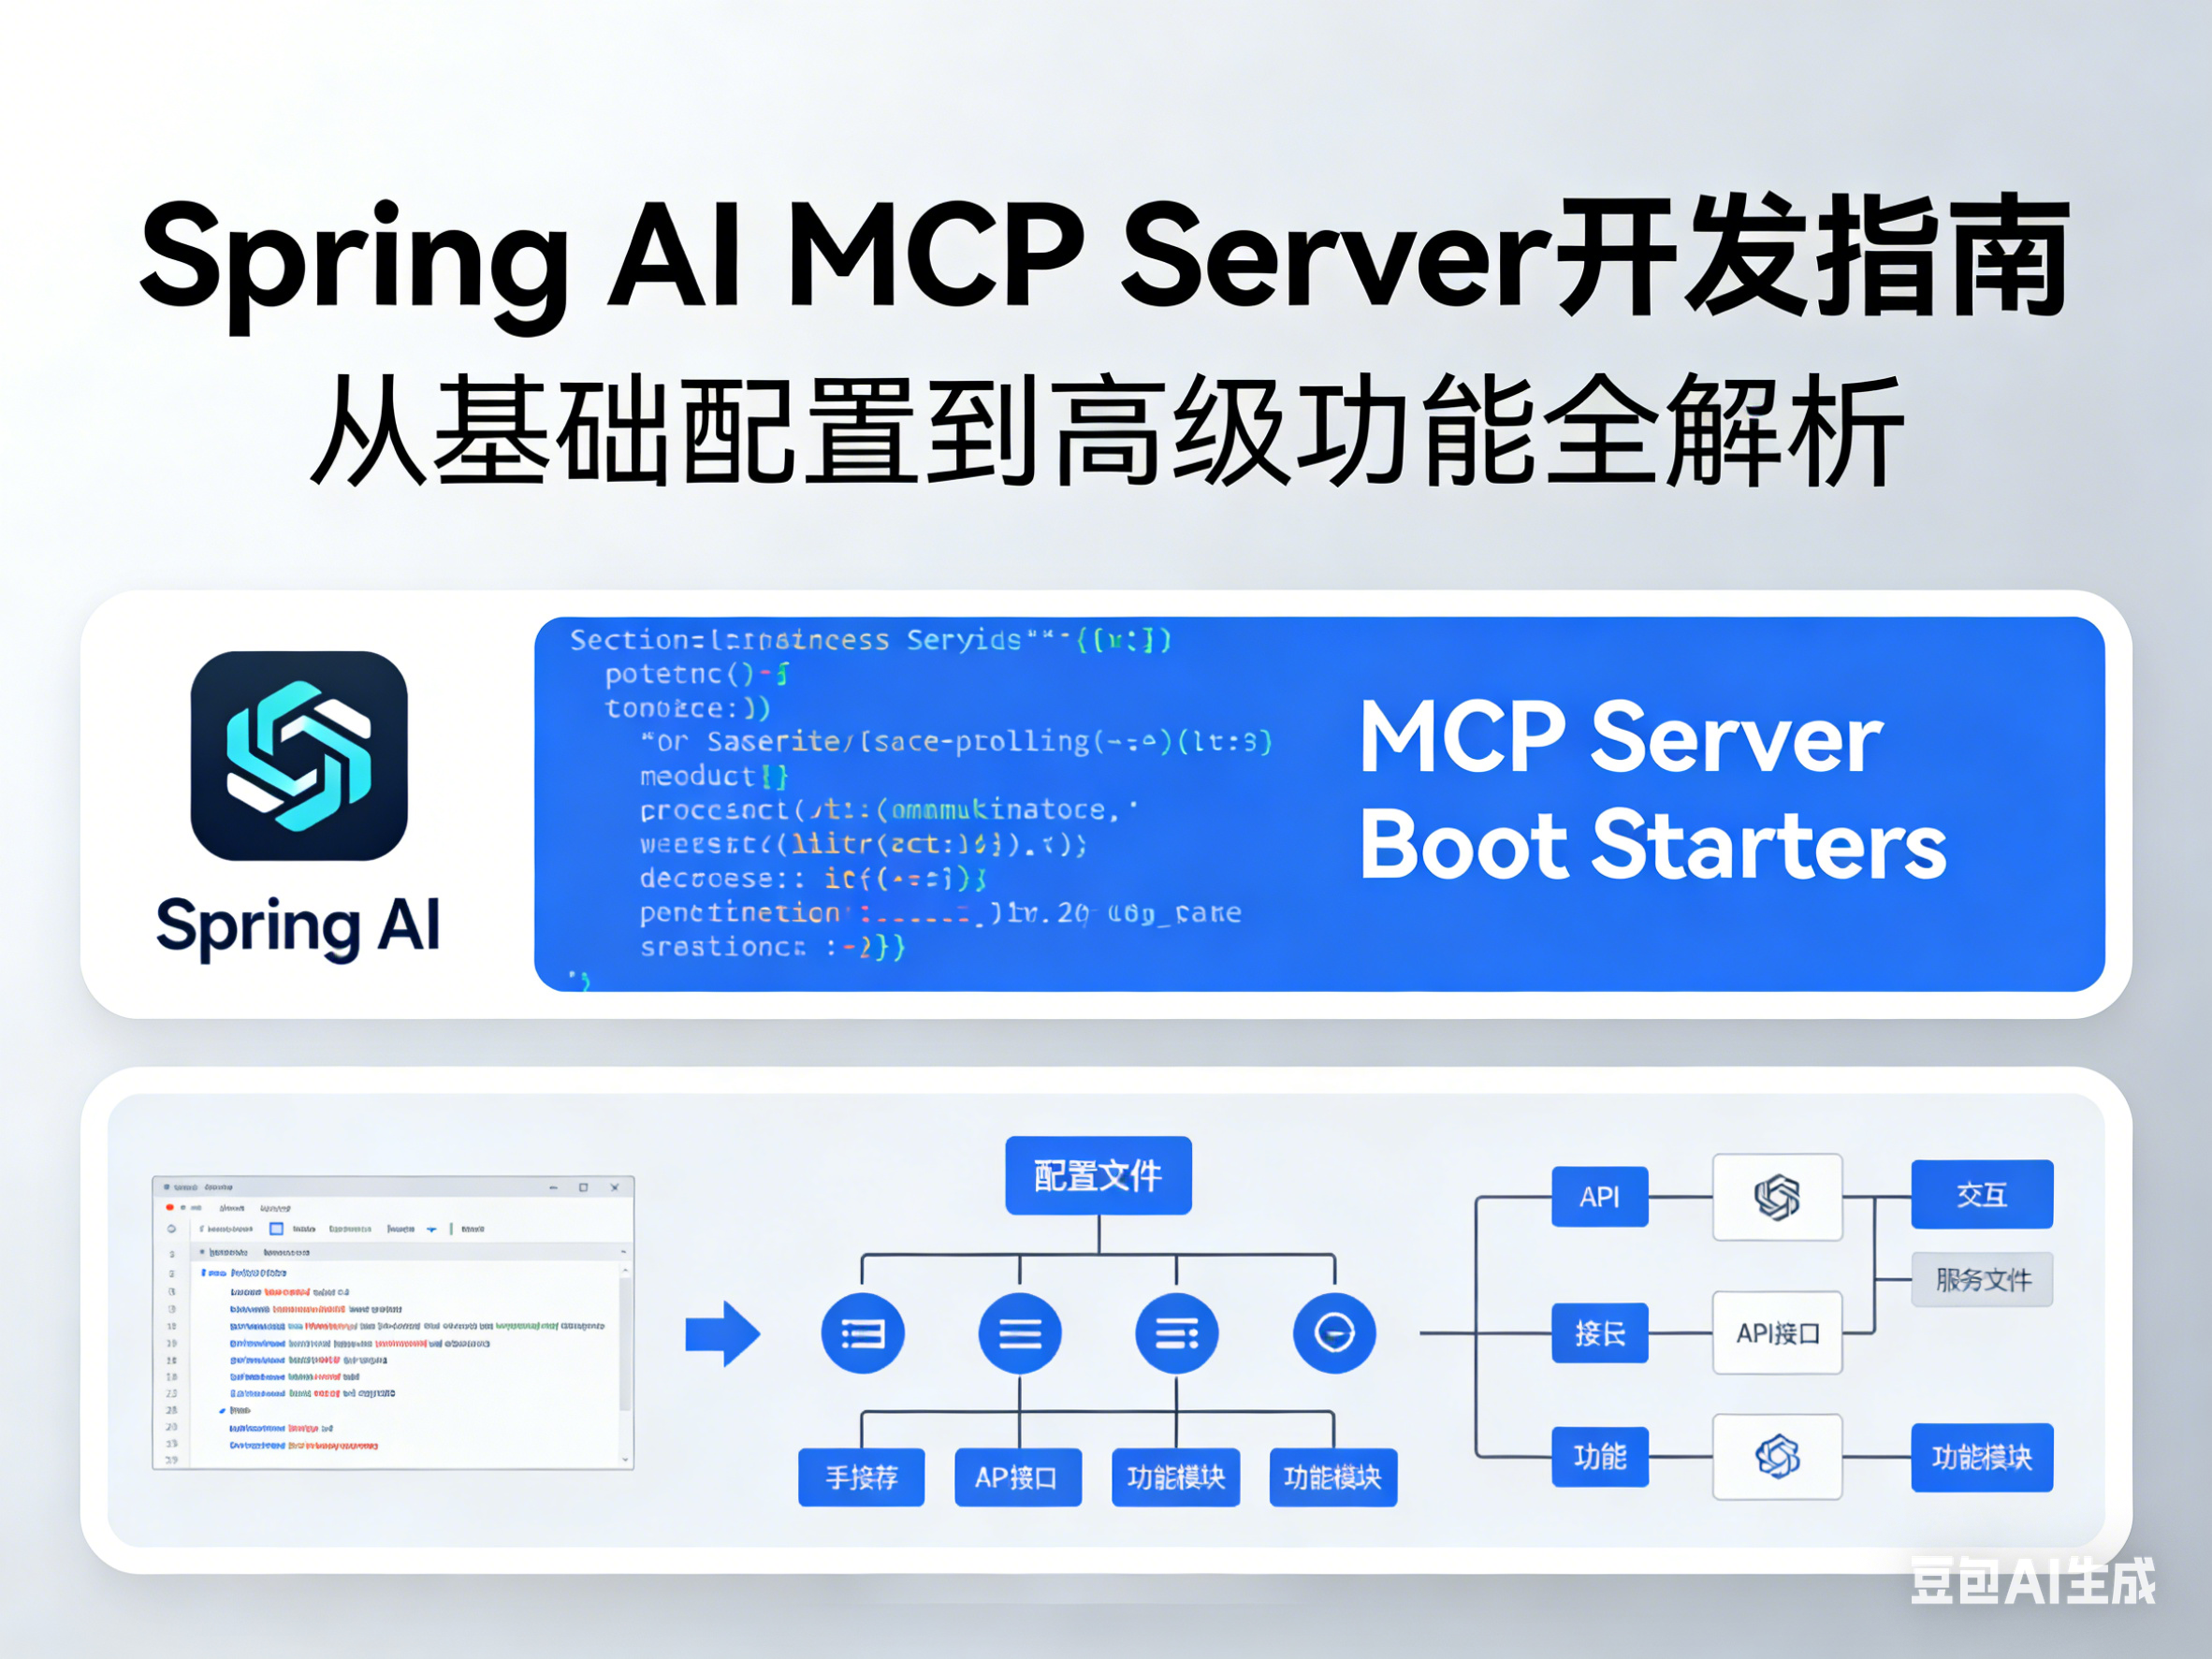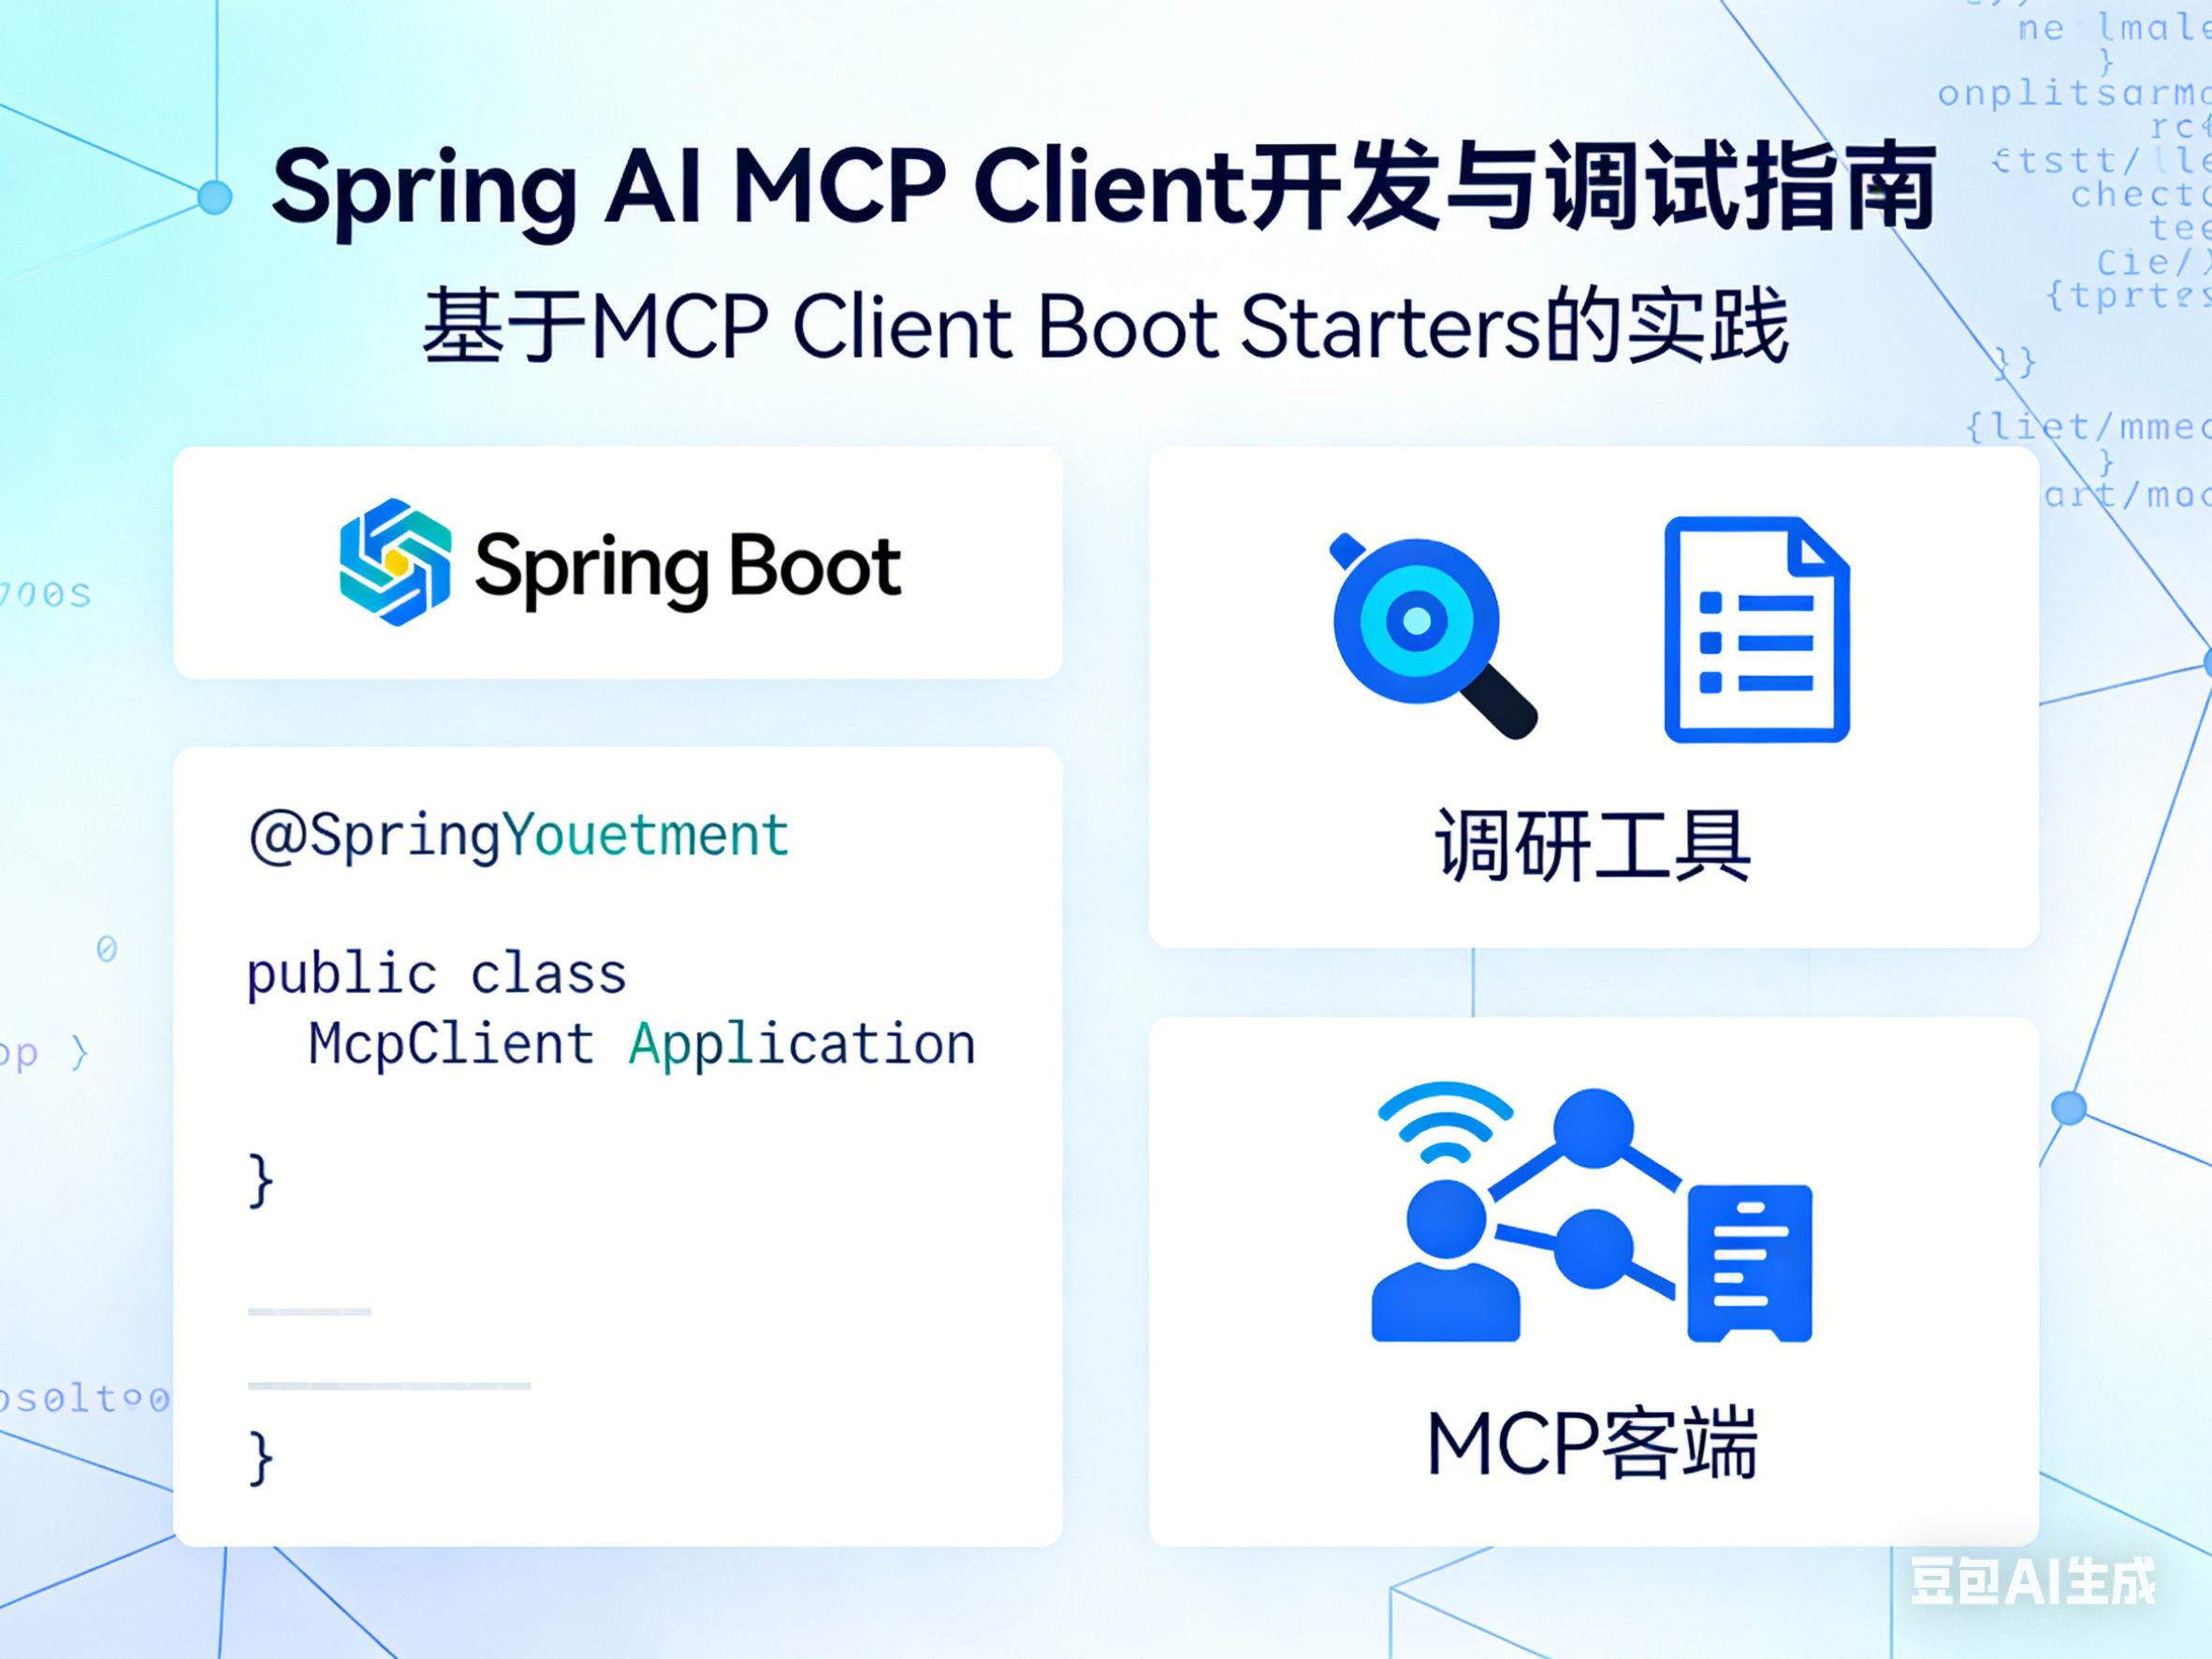
一、概述
本文将详细介绍如何使用 Spring AI 提供的 MCP Client Boot Starters 开发 MCP 客户端,以及如何进行有效的调试。
二、环境准备
2.1 添加依赖
<!-- pom.xml -->
<project>
    <parent>
        <groupId>org.springframework.boot</groupId>
        <artifactId>spring-boot-starter-parent</artifactId>
        <version>3.3.0</version>
    </parent>

    <dependencies>
        <!-- 标准客户端 - 支持 STDIO、SSE、Streamable-HTTP -->
        <dependency>
            <groupId>org.springframework.ai</groupId>
            <artifactId>spring-ai-starter-mcp-client</artifactId>
        </dependency>

        <!-- 如果需要响应式支持,使用 WebFlux 版本 -->
        <!--
        <dependency>
            <groupId>org.springframework.ai</groupId>
            <artifactId>spring-ai-starter-mcp-client-webflux</artifactId>
        </dependency>
        -->

        <!-- Spring AI 核心依赖 -->
        <dependency>
            <groupId>org.springframework.ai</groupId>
            <artifactId>spring-ai-core</artifactId>
        </dependency>
    </dependencies>
</project>
2.2 选择正确的 Starter
三、客户端配置
3.1 通用配置
# application.yml
spring:
  ai:
    mcp:
      client:
        enabled: true
        name: my-mcp-client
        version: 1.0.0
        initialized: true  # 启动时初始化连接
        request-timeout: 30s
        type: SYNC  # 或 ASYNC
        root-change-notification: true
        toolcallback:
          enabled: true  # 启用与 Spring AI 工具执行框架的集成
        annotation-scanner:
          enabled: true  # 启用注解扫描
3.2 STDIO 连接配置
# application.yml
spring:
  ai:
    mcp:
      client:
        type: SYNC
        stdio:
          connections:
            filesystem-server:
              command: npx
              args:
                - "-y"
                - "@modelcontextprotocol/server-filesystem"
                - "/Users/username/Desktop"
                - "/Users/username/Downloads"
              env:
                NODE_ENV: production
            custom-tool:
              command: /usr/local/bin/my-mcp-tool
              args:
                - "--mode=production"
              env:
                API_KEY: your-api-key
                DEBUG: "true"
3.3 使用外部 JSON 配置文件
# application.yml
spring:
  ai:
    mcp:
      client:
        stdio:
          servers-configuration: classpath:mcp-servers.json
// src/main/resources/mcp-servers.json (Claude Desktop 格式)
{
"mcpServers": {
"filesystem": {
"command": "npx",
"args": [
"-y",
"@modelcontextprotocol/server-filesystem",
"/Users/username/Desktop"
]
},
"github": {
"command": "npx",
"args": ["-y", "@modelcontextprotocol/server-github"],
"env": {
"GITHUB_TOKEN": "your-github-token"
}
}
}
}3.4 SSE 连接配置
# application.yml
spring:
  ai:
    mcp:
      client:
        type: SYNC
        sse:
          connections:
            weather-server:
              url: http://localhost:8080
              sse-endpoint: /sse
            tool-server:
              url: http://localhost:8081
              sse-endpoint: /mcp/sse
3.5 Streamable-HTTP 连接配置
# application.yml
spring:
  ai:
    mcp:
      client:
        type: SYNC
        streamable-http:
          connections:
            primary-server:
              url: http://localhost:8080
              endpoint: /mcp
            secondary-server:
              url: http://other-server:8081
              endpoint: /api/mcp
3.6 Windows 特别配置
在 Windows 上,像 npx、npm 这样的命令是批处理文件(.cmd),需要特殊处理:
{
  "mcpServers": {
    "filesystem": {
      "command": "cmd.exe",
      "args": [
        "/c",
        "npx",
        "-y",
        "@modelcontextprotocol/server-filesystem",
        "C:\\Users\\username\\Desktop"
      ]
    }
  }
}
四、编程式客户端开发
4.1 同步客户端示例
package com.example.mcp.client;

import io.modelcontextprotocol.client.McpClient;
import io.modelcontextprotocol.client.transport.StdioClientTransport;
import io.modelcontextprotocol.spec.McpSchema;
import io.modelcontextprotocol.spec.ServerParameters;
import org.springframework.context.annotation.Bean;
import org.springframework.context.annotation.Configuration;

import java.time.Duration;
import java.util.List;

@Configuration
public class McpClientConfig {

    @Bean(destroyMethod = "close")
    public McpClient.SyncSpec mcpSyncClient() {
        ServerParameters stdioParams = ServerParameters.builder("npx")
            .args("-y", "@modelcontextprotocol/server-filesystem", "/tmp")
            .build();

        return McpClient.sync(
            new StdioClientTransport(stdioParams)
        )
        .requestTimeout(Duration.ofSeconds(30))
        .build();
    }
}
4.2 异步客户端示例
package com.example.mcp.client;

import io.modelcontextprotocol.client.McpClient;
import io.modelcontextprotocol.client.transport.WebFluxSseClientTransport;
import io.modelcontextprotocol.spec.McpSchema;
import org.springframework.context.annotation.Bean;
import org.springframework.context.annotation.Configuration;
import org.springframework.web.reactive.function.client.WebClient;

import java.time.Duration;

@Configuration
public class McpAsyncClientConfig {

    @Bean(destroyMethod = "close")
    public McpClient.AsyncSpec mcpAsyncClient() {
        WebClient webClient = WebClient.create("http://localhost:8080");

        return McpClient.async(
            new WebFluxSseClientTransport(webClient)
        )
        .requestTimeout(Duration.ofSeconds(30))
        .build();
    }
}
4.3 跨平台配置
package com.example.mcp.client;

import io.modelcontextprotocol.client.McpClient;
import io.modelcontextprotocol.client.transport.StdioClientTransport;
import io.modelcontextprotocol.spec.ServerParameters;
import org.springframework.beans.factory.annotation.Value;
import org.springframework.context.annotation.Bean;
import org.springframework.context.annotation.Configuration;

import java.time.Duration;
import java.util.ArrayList;
import java.util.Arrays;

@Configuration
public class CrossPlatformMcpClientConfig {

    @Value("${mcp.filesystem.path:/tmp}")
    private String filesystemPath;

    @Bean(destroyMethod = "close")
    public McpClient.SyncSpec mcpSyncClient() {
        ServerParameters stdioParams;

        if (isWindows()) {
            // Windows: 使用 cmd.exe /c npx
            var winArgs = new ArrayList<>(Arrays.asList(
                "/c", "npx", "-y",
                "@modelcontextprotocol/server-filesystem",
                filesystemPath
            ));
            stdioParams = ServerParameters.builder("cmd.exe")
                .args(winArgs)
                .build();
        } else {
            // Linux/Mac: 直接使用 npx
            stdioParams = ServerParameters.builder("npx")
                .args("-y", "@modelcontextprotocol/server-filesystem", filesystemPath)
                .build();
        }

        return McpClient.sync(new StdioClientTransport(stdioParams))
            .requestTimeout(Duration.ofSeconds(30))
            .build()
            .initialize();
    }

    private static boolean isWindows() {
        return System.getProperty("os.name").toLowerCase().contains("win");
    }
}
五、使用 MCP Client 调用工具
5.1 注入客户端并调用工具
package com.example.mcp.service;

import io.modelcontextprotocol.client.McpClient;
import io.modelcontextprotocol.spec.CallToolResult;
import io.modelcontextprotocol.spec.McpSchema;
import org.springframework.beans.factory.annotation.Autowired;
import org.springframework.stereotype.Service;

import java.util.List;
import java.util.Map;

@Service
public class McpToolService {

    @Autowired
    private List<McpClient.SyncSpec> mcpClients;

    /**
     * 列出所有可用工具
     */
    public List<McpSchema.Tool> listTools() {
        return mcpClients.stream()
            .flatMap(client -> client.listTools().tools().stream())
            .toList();
    }

    /**
     * 调用指定工具
     */
    public String callTool(String toolName, Map<String, Object> arguments) {
        for (McpClient.SyncSpec client : mcpClients) {
            try {
                CallToolResult result = client.callTool(toolName, arguments);

                if (!result.isError()) {
                    return extractTextContent(result);
                }
            } catch (Exception e) {
                // 继续尝试其他客户端
            }
        }
        throw new RuntimeException("Tool not found or call failed: " + toolName);
    }

    private String extractTextContent(CallToolResult result) {
        return result.content().stream()
            .filter(c -> c instanceof McpSchema.TextContent)
            .map(c -> ((McpSchema.TextContent) c).text())
            .findFirst()
            .orElse("");
    }
}
5.2 与 Spring AI ChatClient 集成
MCP Client 自动集成到 Spring AI 的工具执行框架中:
package com.example.mcp.service;

import org.springframework.ai.chat.client.ChatClient;
import org.springframework.ai.chat.model.ChatModel;
import org.springframework.stereotype.Service;

@Service
public class AiWithMcpService {

    private final ChatClient chatClient;

    public AiWithMcpService(ChatModel chatModel) {
        this.chatClient = ChatClient.builder(chatModel).build();
    }

    public String chat(String userMessage) {
        return chatClient.prompt()
            .user(userMessage)
            .call()
            .content();
    }
}
当 spring.ai.mcp.client.toolcallback.enabled=true 时,MCP 服务器提供的工具会自动注册到 Spring AI 的工具执行框架中,ChatClient 可以自动调用这些工具。
5.3 工具过滤
package com.example.mcp.config;

import org.springframework.ai.mcp.client.McpToolCallbackProvider;
import org.springframework.context.annotation.Bean;
import org.springframework.context.annotation.Configuration;

import java.util.List;

@Configuration
public class ToolFilterConfig {

    @Bean
    public McpToolCallbackProvider mcpToolCallbackProvider() {
        return McpToolCallbackProvider.builder()
            // 只包含特定工具
            .toolNames("get-temperature", "get-weather-alerts")
            // 或排除某些工具
            // .excludedToolNames("dangerous-tool")
            // 添加工具名称前缀避免冲突
            .toolNamePrefix("weather_")
            .build();
    }
}
六、处理服务器通知
6.1 使用注解处理通知
package com.example.mcp.handlers;

import io.modelcontextprotocol.spec.*;
import org.springframework.ai.mcp.annotation.*;
import org.springframework.stereotype.Component;

import java.util.List;

@Component
public class McpNotificationHandlers {

    /**
     * 处理日志消息通知
     */
    @McpLogging(clients = "weather-server")
    public void handleLogging(LoggingMessageNotification notification) {
        System.out.printf("[%s] %s: %s%n",
            notification.level(),
            notification.logger(),
            notification.data()
        );
    }

    /**
     * 处理进度通知
     */
    @McpProgress(clients = "weather-server")
    public void handleProgress(ProgressNotification notification) {
        double percentage = notification.progress() * 100;
        System.out.printf("进度: %.1f%% - %s%n", percentage, notification.message());
    }

    /**
     * 工具列表变更通知
     */
    @McpToolListChanged(clients = "weather-server")
    public void handleToolListChanged(List<McpSchema.Tool> tools) {
        System.out.println("工具列表已更新,当前可用工具:");
        tools.forEach(tool ->
            System.out.println("  - " + tool.name() + ": " + tool.description())
        );
    }

    /**
     * 资源列表变更通知
     */
    @McpResourceListChanged(clients = "weather-server")
    public void handleResourceListChanged(List<McpSchema.Resource> resources) {
        System.out.println("资源列表已更新,数量: " + resources.size());
    }

    /**
     * 提示模板列表变更通知
     */
    @McpPromptListChanged(clients = "weather-server")
    public void handlePromptListChanged(List<McpSchema.Prompt> prompts) {
        System.out.println("提示模板列表已更新,数量: " + prompts.size());
    }
}
6.2 处理采样请求
采样允许服务器请求客户端使用 LLM 生成内容:
package com.example.mcp.handlers;

import io.modelcontextprotocol.spec.*;
import org.springframework.ai.mcp.annotation.McpSampling;
import org.springframework.ai.chat.client.ChatClient;
import org.springframework.ai.chat.model.ChatModel;
import org.springframework.stereotype.Component;

import java.util.List;

@Component
public class SamplingHandler {

    private final ChatModel chatModel;

    public SamplingHandler(ChatModel chatModel) {
        this.chatModel = chatModel;
    }

    @McpSampling(clients = "content-server")
    public CreateMessageResult handleSampling(CreateMessageRequest request) {
        // 将 MCP 消息转换为 Spring AI 消息
        List<org.springframework.ai.chat.messages.Message> messages = request.messages()
            .stream()
            .map(msg -> convertMessage(msg))
            .toList();

        // 使用 ChatModel 生成响应
        var response = chatModel.call(new org.springframework.ai.chat.prompt.Prompt(messages));

        // 返回 MCP 格式的结果
        return CreateMessageResult.builder()
            .role(Role.ASSISTANT)
            .content(new TextContent(response.getResult().getOutput().getText()))
            .model(response.getMetadata().getModel())
            .build();
    }

    private org.springframework.ai.chat.messages.Message convertMessage(McpSchema.Message msg) {
        if (msg.role() == Role.USER) {
            return new org.springframework.ai.chat.messages.UserMessage(
                ((TextContent) msg.content()).text()
            );
        } else {
            return org.springframework.ai.chat.messages.AssistantMessage.builder()
                .content(((TextContent) msg.content()).text())
                .build();
        }
    }
}
6.3 处理用户信息收集请求(Elicitation)
package com.example.mcp.handlers;

import io.modelcontextprotocol.spec.*;
import org.springframework.ai.mcp.annotation.McpElicitation;
import org.springframework.stereotype.Component;

import java.util.HashMap;
import java.util.Map;

@Component
public class ElicitationHandler {

    @McpElicitation(clients = "interactive-server")
    public ElicitResult handleElicitation(ElicitRequest request) {
        Map<String, Object> schema = request.requestedSchema();
        Map<String, Object> userData = new HashMap<>();

        // 显示请求消息
        System.out.println("服务器请求: " + request.message());

        // 根据请求的 schema 收集用户输入
        if (schema != null && schema.containsKey("properties")) {
            @SuppressWarnings("unchecked")
            Map<String, Object> properties = (Map<String, Object>) schema.get("properties");

            for (Map.Entry<String, Object> entry : properties.entrySet()) {
                String fieldName = entry.getKey();
                // 在实际应用中,这里会显示 UI 并获取用户输入
                userData.put(fieldName, getDefaultValue(fieldName));
            }
        }

        return new ElicitResult(ElicitResult.Action.ACCEPT, userData);
    }

    private String getDefaultValue(String fieldName) {
        // 模拟用户输入
        return switch (fieldName) {
            case "name" -> "张三";
            case "email" -> "zhangsan@example.com";
            case "phone" -> "13800138000";
            default -> "";
        };
    }
}
七、客户端自定义配置
7.1 使用 Customizer 自定义客户端
package com.example.mcp.config;

import io.modelcontextprotocol.spec.*;
import org.springframework.ai.mcp.client.McpSyncClientCustomizer;
import org.springframework.stereotype.Component;

import java.time.Duration;
import java.util.List;

@Component
public class CustomMcpClientCustomizer implements McpSyncClientCustomizer {

    @Override
    public void customize(String serverConfigurationName, McpClient.SyncSpec spec) {
        // 自定义请求超时
        spec.requestTimeout(Duration.ofSeconds(60));

        // 设置根目录
        List<McpSchema.Root> roots = List.of(
            new McpSchema.Root("file:///home/user/project", "项目目录")
        );
        spec.roots(roots);

        // 设置采样处理器
        spec.sampling((CreateMessageRequest request) -> {
            // 处理采样请求
            return CreateMessageResult.builder()
                .role(Role.ASSISTANT)
                .content(new TextContent("采样响应"))
                .build();
        });

        // 设置用户信息收集处理器
        spec.elicitation((ElicitRequest request) -> {
            return new ElicitResult(ElicitResult.Action.ACCEPT, Map.of("data", "value"));
        });

        // 设置进度通知处理器
        spec.progressConsumer((ProgressNotification progress) -> {
            System.out.println("进度更新: " + progress.message());
        });

        // 设置工具变更通知处理器
        spec.toolsChangeConsumer((List<McpSchema.Tool> tools) -> {
            System.out.println("工具列表已更新");
        });

        // 设置资源变更通知处理器
        spec.resourcesChangeConsumer((List<McpSchema.Resource> resources) -> {
            System.out.println("资源列表已更新");
        });

        // 设置日志处理器
        spec.loggingConsumer((LoggingMessageNotification log) -> {
            System.out.printf("[%s] %s%n", log.level(), log.data());
        });
    }
}
7.2 异步客户端 Customizer
package com.example.mcp.config;

import io.modelcontextprotocol.spec.*;
import org.springframework.ai.mcp.client.McpAsyncClientCustomizer;
import org.springframework.stereotype.Component;
import reactor.core.publisher.Mono;

import java.time.Duration;

@Component
public class CustomMcpAsyncClientCustomizer implements McpAsyncClientCustomizer {

    @Override
    public void customize(String serverConfigurationName, McpClient.AsyncSpec spec) {
        spec.requestTimeout(Duration.ofSeconds(60));

        // 异步采样处理器
        spec.sampling((CreateMessageRequest request) -> {
            return Mono.fromCallable(() -> {
                // 异步处理
                return CreateMessageResult.builder()
                    .role(Role.ASSISTANT)
                    .content(new TextContent("异步采样响应"))
                    .build();
            });
        });
    }
}
八、完整示例:智能助手应用
8.1 应用配置
# application.yml
spring:
  application:
    name: intelligent-assistant
  ai:
    mcp:
      client:
        type: SYNC
        initialized: true
        request-timeout: 30s
        toolcallback:
          enabled: true
        annotation-scanner:
          enabled: true
        stdio:
          connections:
            filesystem:
              command: npx
              args:
                - "-y"
                - "@modelcontextprotocol/server-filesystem"
                - "${user.home}/Documents"
        sse:
          connections:
            weather:
              url: http://localhost:8080
              sse-endpoint: /sse

  ai:
    openai:
      api-key: ${OPENAI_API_KEY}
      chat:
        options:
          model: gpt-4
8.2 主应用类
package com.example.assistant;

import org.springframework.boot.SpringApplication;
import org.springframework.boot.autoconfigure.SpringBootApplication;

@SpringBootApplication
public class IntelligentAssistantApplication {
    public static void main(String[] args) {
        SpringApplication.run(IntelligentAssistantApplication.class, args);
    }
}
8.3 通知处理器
package com.example.assistant.handlers;

import io.modelcontextprotocol.spec.*;
import org.slf4j.Logger;
import org.slf4j.LoggerFactory;
import org.springframework.ai.mcp.annotation.*;
import org.springframework.stereotype.Component;

import java.util.List;

@Component
public class AssistantNotificationHandlers {

    private static final Logger log = LoggerFactory.getLogger(AssistantNotificationHandlers.class);

    @McpLogging(clients = {"filesystem", "weather"})
    public void handleLogging(LoggingMessageNotification notification) {
        log.info("[MCP][{}] {}", notification.level(), notification.data());
    }

    @McpProgress(clients = {"filesystem", "weather"})
    public void handleProgress(ProgressNotification notification) {
        log.info("操作进度: {}%", (int)(notification.progress() * 100));
    }

    @McpToolListChanged(clients = {"filesystem", "weather"})
    public void handleToolsChanged(List<McpSchema.Tool> tools) {
        log.info("MCP 工具已更新,当前可用: {} 个工具", tools.size());
    }
}
8.4 助手服务
package com.example.assistant.service;

import org.springframework.ai.chat.client.ChatClient;
import org.springframework.ai.chat.model.ChatModel;
import org.springframework.stereotype.Service;

@Service
public class AssistantService {

    private final ChatClient chatClient;

    public AssistantService(ChatModel chatModel) {
        this.chatClient = ChatClient.builder(chatModel)
            .defaultSystem("""
                你是一个智能助手,可以使用各种工具帮助用户完成任务。
                当用户请求涉及文件操作或天气查询时,请使用相应的工具。
                """)
            .build();
    }

    public String chat(String userMessage) {
        return chatClient.prompt()
            .user(userMessage)
            .call()
            .content();
    }
}
### 8.5 REST 控制器

```java
package com.example.assistant.controller;

import com.example.assistant.service.AssistantService;
import org.springframework.web.bind.annotation.*;

@RestController
@RequestMapping("/api/assistant")
public class AssistantController {

    private final AssistantService assistantService;

    public AssistantController(AssistantService assistantService) {
        this.assistantService = assistantService;
    }

    @PostMapping("/chat")
    public ChatResponse chat(@RequestBody ChatRequest request) {
        String response = assistantService.chat(request.message());
        return new ChatResponse(response);
    }

    public record ChatRequest(String message) {}
    public record ChatResponse(String response) {}
}
九、调试技巧
9.1 启用详细日志
# application.yml
logging:
  level:
    io.modelcontextprotocol: DEBUG
    org.springframework.ai.mcp: DEBUG
    org.springframework.ai.chat: DEBUG
    io.netty: DEBUG
9.2 日志配置类
package com.example.mcp.debug;

import io.modelcontextprotocol.spec.*;
import org.springframework.ai.mcp.annotation.McpLogging;
import org.springframework.stereotype.Component;

@Component
public class McpDebugLogger {

    @McpLogging(clients = "*")  // 接收所有客户端的日志
    public void logAll(LoggingMessageNotification notification) {
        System.err.printf(
            "[MCP-DEBUG][%s][%s] %s%n",
            notification.level(),
            notification.logger(),
            notification.data()
        );
    }
}
9.3 使用 MCP Inspector
MCP Inspector 是官方提供的调试工具:
# 安装并运行 Inspector
npx @modelcontextprotocol/inspector

# 对于 SSE 服务器
npx @modelcontextprotocol/inspector http://localhost:8080/sse

# 对于 STDIO 服务器
npx @modelcontextprotocol/inspector npx -y @modelcontextprotocol/server-filesystem /tmp
Inspector 提供以下功能:
查看服务器能力
浏览可用工具、资源、提示
测试工具调用
查看通信日志
9.4 手动调试请求
# 使用 curl 测试 SSE 端点

# 1. 初始化连接
curl -N http://localhost:8080/sse &

# 2. 发送初始化请求
curl -X POST http://localhost:8080/sse \
  -H "Content-Type: application/json" \
  -d '{
    "jsonrpc": "2.0",
    "id": 1,
    "method": "initialize",
    "params": {
      "protocolVersion": "2024-11-05",
      "capabilities": {"tools": {}, "resources": {}},
      "clientInfo": {"name": "debug-client", "version": "1.0.0"}
    }
  }'

# 3. 列出工具
curl -X POST http://localhost:8080/sse \
  -H "Content-Type: application/json" \
  -d '{
    "jsonrpc": "2.0",
    "id": 2,
    "method": "tools/list"
  }'

# 4. 调用工具
curl -X POST http://localhost:8080/sse \
  -H "Content-Type: application/json" \
  -d '{
    "jsonrpc": "2.0",
    "id": 3,
    "method": "tools/call",
    "params": {
      "name": "tool-name",
      "arguments": {"param": "value"}
    }
  }'
9.5 常见问题排查
问题 1: STDIO 服务器无法启动
症状: 客户端连接失败,服务器进程未启动
排查步骤:
# 1. 检查命令是否可执行
which npx
npx --version

# 2. 手动测试 MCP 服务器
npx -y @modelcontextprotocol/server-filesystem /tmp

# 3. 检查环境变量
echo $PATH解决方案:
Windows: 使用
cmd.exe /c npx确保命令在 PATH 中
检查权限
问题 2: SSE 连接 404 错误
症状: HTTP 404 Not Found
排查步骤:
# 检查端点是否正确
curl -v http://localhost:8080/sse

# 检查服务器日志
# 查看是否有端点映射信息解决方案:
确认
sse-endpoint配置正确确认服务器已启动
检查端口是否正确
问题 3: 工具调用超时
症状: 请求超时
排查步骤:
增加超时时间:
spring:
ai:
 mcp:
   client:
     request-timeout: 60s
检查工具实现是否阻塞
使用异步客户端:
spring:
ai:
 mcp:
   client:
     type: ASYNC
问题 4: 工具未被自动调用
症状: ChatClient 不调用 MCP 工具
排查步骤:
确认
toolcallback.enabled: true检查工具名称是否匹配
查看工具描述是否清晰
// 调试:手动列出工具
@Autowired
private List<McpClient.SyncSpec> clients;

public void debugTools() {
    clients.forEach(c -> {
        var tools = c.listTools();
        tools.tools().forEach(t -> System.out.println(t.name()));
    });
}
9.6 网络抓包
对于 HTTP 传输,可以使用 Wireshark 或 tcpdump 抓包:
# 使用 tcpdump 抓包
sudo tcpdump -i lo -A 'tcp port 8080' -w mcp.pcap

# 或使用 mitmproxy 代理
mitmproxy --mode reverse:http://localhost:8080 -p 8081
# 然后配置客户端连接 8081
十、性能优化
10.1 连接池配置
package com.example.mcp.config;

import org.springframework.context.annotation.Bean;
import org.springframework.context.annotation.Configuration;
import org.springframework.http.client.ClientHttpRequestFactory;
import org.springframework.http.client.SimpleClientHttpRequestFactory;
import org.springframework.web.client.RestClient;

import java.time.Duration;

@Configuration
public class HttpClientConfig {

    @Bean
    public ClientHttpRequestFactory clientHttpRequestFactory() {
        SimpleClientHttpRequestFactory factory = new SimpleClientHttpRequestFactory();
        factory.setConnectTimeout(Duration.ofSeconds(10));
        factory.setReadTimeout(Duration.ofSeconds(30));
        return factory;
    }
}
10.2 缓存工具列表
package com.example.mcp.service;

import io.modelcontextprotocol.client.McpClient;
import io.modelcontextprotocol.spec.McpSchema;
import org.springframework.stereotype.Service;

import java.util.*;
import java.util.concurrent.ConcurrentHashMap;

@Service
public class CachedToolService {

    private final Map<String, List<McpSchema.Tool>> toolCache = new ConcurrentHashMap<>();
    private final List<McpClient.SyncSpec> clients;

    public CachedToolService(List<McpClient.SyncSpec> clients) {
        this.clients = clients;
        refreshCache();
    }

    public void refreshCache() {
        toolCache.clear();
        for (McpClient.SyncSpec client : clients) {
            // 假设可以通过某种方式获取客户端名称
            String clientName = getClientName(client);
            toolCache.put(clientName, client.listTools().tools());
        }
    }

    public Optional<McpSchema.Tool> findTool(String toolName) {
        return toolCache.values().stream()
            .flatMap(List::stream)
            .filter(t -> t.name().equals(toolName))
            .findFirst();
    }

    private String getClientName(McpClient.SyncSpec client) {
        // 实现获取客户端名称的逻辑
        return "default";
    }
}
十一、部署建议
11.1 生产环境配置
# application-prod.yml
spring:
  ai:
    mcp:
      client:
        type: ASYNC
        initialized: true
        request-timeout: 60s
        toolcallback:
          enabled: true

management:
  endpoints:
    web:
      exposure:
        include: health,info,metrics
  endpoint:
    health:
      show-details: never

logging:
  level:
    io.modelcontextprotocol: WARN
    org.springframework.ai.mcp: INFO
11.2 健康检查
package com.example.mcp.health;

import io.modelcontextprotocol.client.McpClient;
import org.springframework.boot.actuate.health.Health;
import org.springframework.boot.actuate.health.HealthIndicator;
import org.springframework.stereotype.Component;

import java.util.List;

@Component
public class McpClientHealthIndicator implements HealthIndicator {

    private final List<McpClient.SyncSpec> clients;

    public McpClientHealthIndicator(List<McpClient.SyncSpec> clients) {
        this.clients = clients;
    }

    @Override
    public Health health() {
        try {
            int connectedClients = clients.size();
            return Health.up()
                .withDetail("connectedClients", connectedClients)
                .build();
        } catch (Exception e) {
            return Health.down()
                .withException(e)
                .build();
        }
    }
}
十二、总结
本文详细介绍了:
客户端配置:STDIO、SSE、Streamable-HTTP 等多种传输方式
工具调用:编程式调用和与 Spring AI 集成
通知处理:使用注解处理各种服务器通知
自定义配置:通过 Customizer 深度定制客户端行为
调试技巧:日志、Inspector、手动测试等方法
性能优化:连接池、缓存等优化策略
通过这些知识,你可以构建强大的 AI 应用,充分利用 MCP 生态系统提供的各种能力。